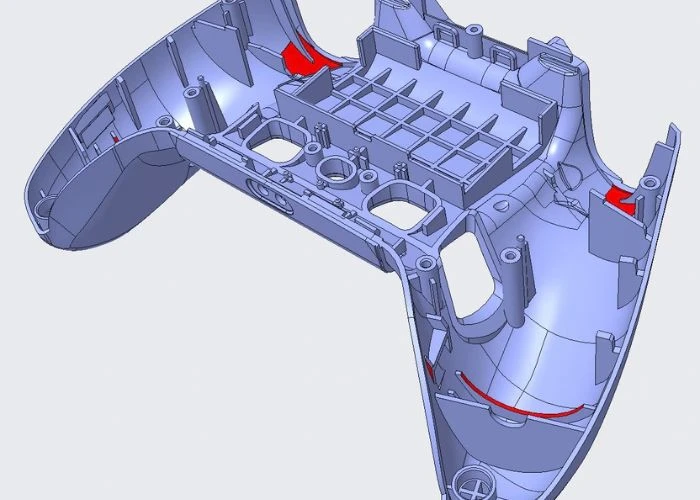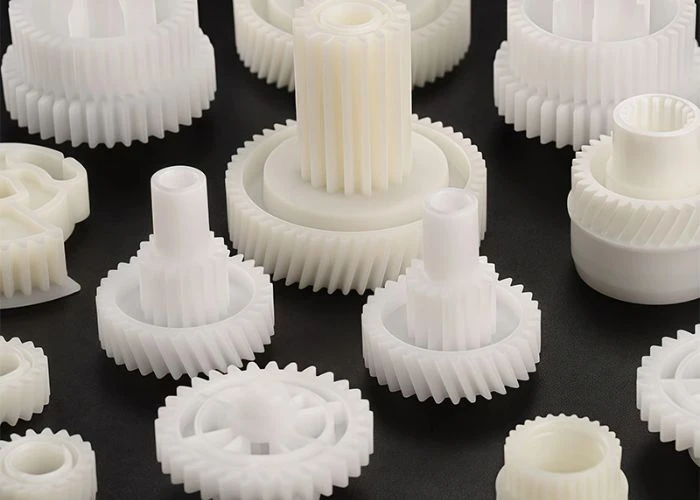

Matte vs Gloss Plastic Finish is more than a cosmetic decision at the end of prototype manufacturing. Once the required appearance is defined, it affects how we plan CNC plastic machining, prepare visible surfaces, protect edges and mating features, manage bonded areas, and inspect the completed prototype. In our plastic prototyping work, the goal is not simply to create a matte or glossy surface, but to achieve that appearance without compromising the geometry and assembly relationships already built into the part.
Matte vs Gloss Plastic Finish Changes More Than the Final Appearance
Matte and gloss are easy to describe visually: matte surfaces diffuse more light, while gloss surfaces create stronger reflections. For a prototype manufacturer, however, the more important difference is what those optical characteristics reveal about the surface underneath and how much preparation is needed before the prototype reaches its final appearance.
A matte surface generally reduces strong reflections and can make very small surface variations less noticeable. A gloss surface reflects its surroundings more clearly, so local waviness, sanding direction, repaired areas, machining transitions, and joined sections can become easier to detect. This is why two parts made from the same CAD model and painted the same nominal color can still present very different visual quality when their gloss levels change.
The manufacturing consequence starts before finishing. If a customer needs a high-gloss cosmetic housing, we know that the underlying CNC surface and later hand preparation will require closer control. If the target is matte, we may prepare the surface differently, but obvious tool marks, deep scratches, burrs, and uneven transitions still cannot simply be hidden by the final finish.
For this reason, we treat Matte vs Gloss Plastic Finish as part of the prototype specification rather than an isolated decoration added after machining. The earlier the target appearance is understood, the easier it is to build the right manufacturing sequence around it.
How Surface Requirements Change CNC Machining and Preparation
CNC-machined plastic normally retains some evidence of the cutting process, and current CNC prototype manufacturing references similarly identify deburring, sanding, polishing, blasting, or other secondary operations as methods selected according to the required result. In practice, we do not treat all of these operations as interchangeable. Matte and gloss require different preparation priorities.
Matte Surfaces Still Need a Consistent Machined Base
A common assumption is that a matte finish can hide the CNC surface underneath. It may reduce the visual impact of very fine marks, but it cannot correct a poor base surface. A deep cutter mark remains a change in geometry, an unevenly sanded area remains uneven, and a burr around an opening can still disturb the final edge.
After CNC machining, we therefore first remove burrs and identify which surfaces will remain visible on the assembled prototype. Tool marks on those areas are reduced to a controlled and reasonably uniform condition before the final surface treatment begins. The objective is not to polish everything smooth enough for a mirror finish; doing so would add unnecessary work and could remove material from edges or features that should remain defined.
The better approach is to prepare the surface only as far as the matte requirement needs. Large visible faces should have consistent preparation, transitions should not show abrupt sanding differences, and edges should remain close to the intended CAD geometry. Hidden structural surfaces can often remain much closer to their machined condition.This gives the matte finish a stable base without turning surface preparation into uncontrolled material removal.
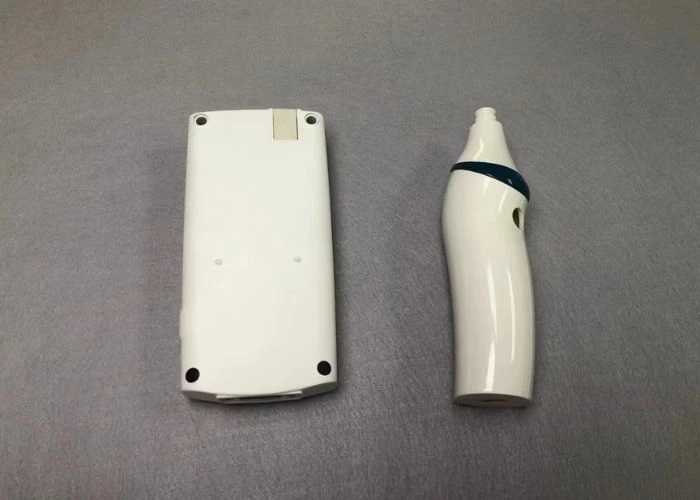
Gloss Surfaces Require Greater Control of Surface Continuity
Gloss changes the problem because reflected light makes continuity easier to judge. A small depression may not look serious on an unfinished CNC part, but once the surface becomes glossy, the reflected line can bend around that area and make the defect much more obvious. The same applies to sanding marks, repaired areas, and transitions between separately prepared surfaces.
For this reason, a gloss prototype normally requires closer inspection of the base surface and more gradual preparation before the final finish. The solution, however, is not simply “more sanding.” Removing material without controlling where it is removed can improve one visual problem while creating a dimensional one.
This matters around display windows, button openings, small radii, sharp design lines, housing edges, and other features where appearance and geometry meet. If these areas are repeatedly sanded to correct the surrounding cosmetic surface, an originally accurate CNC feature can gradually change shape.
We therefore work toward surface continuity while protecting the geometry underneath. Areas that need additional preparation receive it, while edges, openings, and mating features are controlled so that cosmetic improvement does not undo the accuracy achieved during CNC plastic machining.
Different Areas of a Prototype Need Different Finishing Priorities
A prototype is rarely judged equally on every surface. The front of a handheld device, a control panel around a display, or the upper housing of a beauty device may dominate the visual evaluation, while internal bosses and locating faces disappear after assembly. Treating these areas identically would add work without improving the prototype.
Visible Surfaces Need to Be Controlled as an Assembly
For cosmetic prototypes, we usually look beyond the individual CNC part. A front housing and rear housing may be machined separately, and a button, trim ring, or display frame may use different geometry, yet the customer sees all of them together when the prototype is assembled.
This makes consistency more important than simply achieving a good finish on each isolated component. If adjacent matte parts show noticeably different sheen, or a glossy housing changes reflection abruptly across a joint, the assembled prototype can appear inconsistent even when each component looks acceptable on its own.
We therefore identify the primary visible surfaces and consider how they relate after assembly. Surface preparation, finishing sequence, and inspection can then focus on the areas that need to read visually as one product.
This is especially relevant when the prototype is intended for appearance review, exhibition, customer presentation, photography, or internal design approval. In these cases, the finished assembly—not the loose part—is the real evaluation object.
Functional Surfaces Need Dimensional Protection
The opposite priority applies to mating faces, locating features, screw positions, snap areas, display openings, button holes, and other assembly-critical geometry. These surfaces may sit immediately beside a cosmetic area, but their main job is not to look matte or glossy—it is to preserve the relationship between parts.
For example, a glossy front housing may need extensive preparation around a display opening. The surrounding face can be improved cosmetically, but the opening itself still controls display fit and the visible gap. If its edges are repeatedly rounded during hand finishing, the final assembly can look worse even though the surface has become smoother.
This is why we separate cosmetic surfaces from functional interfaces before finishing. Where necessary, the interface is protected or receives only limited preparation while the adjacent visible surface continues through the required finishing process.
The rule we follow is straightforward: cosmetic finishing should not continue past the point where it begins to compromise the engineering purpose of the feature.
Part Geometry Changes How Matte and Gloss Finishes Are Manufactured
The same Matte vs Gloss Plastic Finish specification does not create the same manufacturing difficulty on every part. A large open housing is relatively easy to access, while deep recesses, narrow grooves, small radii, dense openings, and complex surface transitions can restrict both machining and later hand finishing.
For us, this means finishing access should be considered during the manufacturing review rather than discovered after CNC machining is complete. If a recessed cosmetic feature must have the same appearance as a large surrounding surface, we need to consider whether that area can be machined cleanly and then reached consistently during later preparation.
Openings require similar attention. Aggressive sanding around vents, buttons, display windows, or thin wall edges can change their geometry. On a gloss prototype, inconsistent preparation around these features can also become more visible because the reflected surface changes abruptly.
The practical solution is to reduce the amount of correction required later. Where possible, visible areas should leave CNC machining with a stable surface condition, while difficult transitions are reviewed before hand finishing begins. The finishing sequence can then move from accessible major surfaces toward more sensitive local features instead of repeatedly reworking the entire part.
This is an important distinction in plastic prototyping: good surface quality is not produced only by the final operation. It is easier to achieve when the earlier machining and preparation steps leave the part in a condition that supports the required finish.
Split and Bonded Prototypes Need Surface Planning Before Joining
Large housings and complex plastic prototypes sometimes need to be divided into several CNC-machined sections because of stock size, machining range, geometry, or access. Splitting the part can solve the machining problem, but it introduces another challenge: the separate sections must eventually behave visually and dimensionally as one part.
Bonding Accuracy Comes Before Surface Restoration
When two CNC-machined sections are joined, we first care about their physical relationship: alignment, height difference, joint position, and the overall geometry of the assembled component. Trying to hide the joint before these conditions are controlled only transfers the problem into the finishing stage.
A small step between two bonded surfaces, for example, should not simply be sanded away without understanding why it exists. If the sections are misaligned, aggressive sanding may create a locally smooth surface while distorting the designed profile over a much larger area.
Our preferred sequence is therefore to establish the best possible alignment during bonding and keep the joint itself controlled. Once the assembled geometry is correct, the remaining seam can be prepared as a local surface-restoration problem rather than using finishing to compensate for inaccurate assembly.
This reduces the amount of material that must be removed later and gives both matte and gloss surfaces a more stable base.
Joint Finishing Must Preserve the Assembled Geometry
After bonding, the visibility of the seam depends partly on the target finish. Matte may make a very small, well-prepared transition less noticeable, while gloss tends to reveal interruptions in reflected lines more easily. Neither finish, however, can compensate for a joint that has not been properly aligned.
Once alignment is correct, the seam can be filled or prepared as required and blended into the surrounding cosmetic surface. The key is to keep the correction local. Expanding the sanding area unnecessarily can flatten intended curvature, soften a design line, or affect a nearby interface.
This becomes particularly important on large housings where the bonded section may extend close to an assembly edge. Solving the visible seam but changing the edge that mates with another housing simply replaces an appearance problem with an assembly problem.
For large plastic prototypes, we therefore plan splitting, bonding, surface restoration, and final finish as one connected manufacturing problem. The joining strategy should support the required Matte vs Gloss Plastic Finish, not leave finishing to repair decisions made earlier.
Matte vs Gloss Plastic Finish Comparison for Prototype Manufacturing
From a prototype manufacturing perspective, matte and gloss are not quality grades. They create different visual behavior and therefore require different preparation priorities. The appropriate choice depends on what the prototype needs to represent and how the surface interacts with its geometry and assembly.
| Manufacturing Consideration | Matte Finish | Gloss Finish |
| Visual reflection | Lower, more diffused | Stronger and more defined |
| CNC base surface | Clean and uniform base required | Greater sensitivity to small variations |
| Tool marks | Fine marks may be less obvious | Marks and transitions are easier to reveal |
| Surface preparation | Focus on consistency | Greater focus on continuity and fine preparation |
| Edges and openings | Geometry still needs protection | Extra preparation increases the risk of softening geometry |
| Bonded joints | Small controlled transitions may be less visible | Reflection can reveal small discontinuities |
| Hidden surfaces | Usually do not require cosmetic-level finishing | Usually do not require cosmetic-level finishing |
| Assembly interfaces | Protect dimensions from unnecessary finishing | Protect dimensions from unnecessary finishing |
| Main manufacturing priority | Uniform appearance without over-processing | Surface continuity without losing geometry |
Neither surface should be selected simply because matte is assumed to be easier or gloss is assumed to look more premium. The better choice is the finish that represents the intended product appearance while still allowing the prototype to perform its required design and assembly evaluation.
How We Control Surface Requirements Through Prototype Manufacturing
At UForProto, we manufacture plastic prototypes rather than treating surface finishing as a standalone service disconnected from the part. This means the finish is considered together with CAD geometry, CNC plastic machining, hand preparation, joining, inspection, and assembly so that one stage does not create avoidable problems for the next.
Surface Requirements Are Reviewed Before CNC Machining
Before machining begins, we want to understand the target finish, color, important visible surfaces, critical interfaces, and how separate components will appear after assembly. A reference sample is particularly useful when the customer needs a specific visual result that cannot be communicated accurately by words such as “slightly matte” or “very glossy.”
This information does not mean every cosmetic decision changes the CNC program. Instead, it tells us where manufacturing attention should be concentrated. A large visible face may need a cleaner machining condition to reduce later correction, while an internal mounting face may need dimensional protection rather than cosmetic preparation.
If the prototype contains parts that will be bonded, the final surface also helps us decide where a split or joint will be easiest to restore without disturbing important features. If several housings must match after assembly, they need to be considered as a group rather than independent parts.
In this way, the surface requirement informs the manufacturing plan without turning the project into a finishing-only exercise.
Finishing and Assembly Remain Part of the Same Prototype Workflow
After machining, parts move through deburring and the level of surface preparation appropriate to their final use. CNC plastic finishing references similarly distinguish as-machined surfaces from additional sanding, polishing, blasting, coating, or other operations depending on material and required appearance.
Where assembly relationships are important, we prefer to identify fitting problems before the final cosmetic surface is complete. Correcting a housing gap, opening, or mating edge after a high-quality gloss finish has already been produced can create avoidable rework.
The manufacturing sequence therefore needs to remain connected:
CNC machining → deburring and preparation → joining or trial fitting where required → final surface finishing → inspection → prototype assembly.
The exact sequence can change with the project, but the principle remains the same. Each operation should leave the part in the right condition for the next one.
That is the value of treating surface appearance as part of plastic prototyping rather than as a separate decorative process.

What Engineers Should Define Before Manufacturing
Engineers do not need to specify every finishing operation. What we need is a clear definition of the result: matte or gloss direction, target color, important visible areas, surfaces that must match after assembly, and interfaces where dimensions take priority over appearance.
For appearance-critical prototypes, a physical reference or approved sample can provide more useful information than a general description. A photograph can help communicate intent, but lighting, camera settings, and displays can change perceived color and gloss, so it should not always be treated as an absolute standard.
It is also useful to tell us when different areas of the same prototype require different finishes. A glossy decorative panel may sit beside a matte housing, while internal locating and mating surfaces may need no cosmetic treatment at all. Defining these boundaries allows us to prepare each area according to its actual purpose.
The customer should define what the finished prototype needs to look like and what must remain functionally controlled. As the prototype manufacturer, our job is to determine how CNC machining, preparation, finishing, and assembly should work together to achieve that result.
Conclusion
Matte vs Gloss Plastic Finish affects the manufacturing strategy behind a plastic prototype, not just its final appearance. Matte requires a uniform base, while gloss places greater emphasis on surface continuity, but both must be achieved without damaging critical geometry or assembly interfaces. By considering the required finish during CNC machining, preparation, joining, and assembly, we can reduce unnecessary rework and produce a more consistent prototype. You can send us your CAD files, finish requirements, quantity, and reference sample for manufacturing review and quotation.
FAQs
1.What Is the Main Difference Between Matte and Gloss Plastic Finish?
Matte surfaces diffuse light and produce softer reflections, while gloss surfaces create stronger and clearer reflections. In prototype manufacturing, this difference also changes how easily tool marks, sanding transitions, bonded areas, and other surface variations can be seen.
2.Is Matte Finish Easier to Make on a Plastic Prototype?
Not necessarily. Matte may make very small surface variations less obvious, but deep CNC marks, scratches, burrs, and uneven preparation can still affect the result. A clean and consistent base surface is required before the final matte finish.
3.Why Does Gloss Require More Surface Preparation?
Strong reflection makes small changes in surface continuity easier to see. For this reason, gloss prototypes usually require closer control of tool marks, sanding lines, repaired areas, and bonded joints. The additional preparation must still protect edges, openings, and critical dimensions.
4.Can One Plastic Prototype Have Both Matte and Gloss Surfaces?
Yes. Different areas can use different surface effects when the product design requires them. The important point is to define the boundaries clearly so that each area can be prepared without affecting neighboring geometry or assembly interfaces.
5.Can Surface Finishing Change Prototype Dimensions?
Yes, particularly when excessive sanding or polishing removes material around openings, edges, radii, or mating surfaces. We therefore separate cosmetic surfaces from dimensionally important features and control the amount of finishing applied to each area.
6.What Should I Provide for a Matte or Gloss Plastic Prototype?
Provide your 3D CAD, material, quantity, required color and finish, and identify important visible or mating surfaces. If appearance is critical, an approved physical reference sample can also help communicate the intended color, gloss, and overall surface condition.