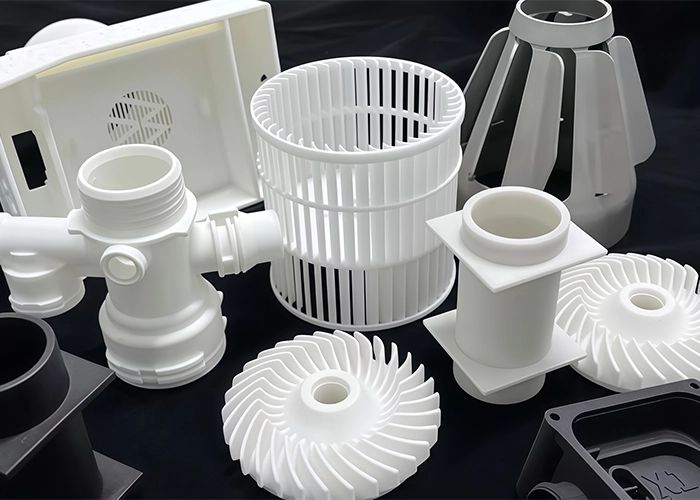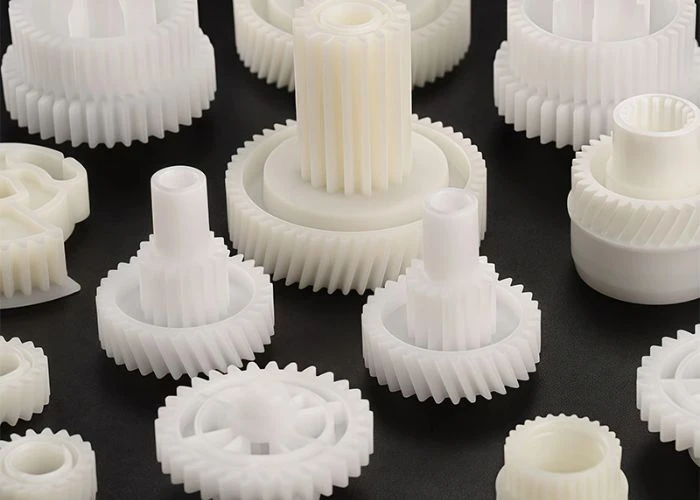

In plastic manufacturing, prototype quality is not created by one machine or a final inspection. It develops through engineering review, process planning, machining, finishing, inspection, and assembly. In our plastic prototyping work, we therefore manage these stages as one connected manufacturing chain so that quality established early in the process is not lost later.
Prototype Manufacturing Quality Is More Than Machine Accuracy
A precision machine can reproduce a programmed toolpath accurately, but that alone does not guarantee a high-quality prototype. The physical part is affected by how it is located, machined, handled, finished, inspected, and eventually assembled. For us, manufacturing quality means controlling the complete result rather than one isolated operation.
This distinction is especially important in CNC plastic machining. A CNC program may be correct while the finished part still develops an incorrect interface, visible tool marks, inconsistent edge transitions, or a dimensional relationship that changes during later processing. Machine capability is therefore only one part of the quality equation.
We look at quality from the finished prototype backward. Which surfaces will be visible? Which features locate another component? Which dimensions must remain accurate after all machining is complete? Which surfaces will later be polished or painted? Which parts must eventually fit together? These questions determine what must be protected during manufacturing.
When dimensional relationships are critical, engineers also need to define which features require tighter control and how those requirements should be referenced and inspected. We discuss this in more detail in our guide to plastic manufacturing tolerances.
This is also why final inspection cannot create quality. Inspection can identify whether a result is acceptable, but by that point the machining, hand finishing, and other operations have already happened. A more reliable approach is to establish control at the stage where each important characteristic is actually created.
Plastic Manufacturing Quality Starts Before the First Cutting Operation
Before machining starts, we need to convert a finished CAD model into a practical manufacturing route. This is different from redesigning the customer’s part. Our task is to determine how the required geometry can be established, which relationships need protection, and what manufacturing condition should exist before each important feature is completed.
A CAD model describes the geometry the engineer wants to receive. It does not automatically define the machining sequence, setup strategy, temporary stock, inspection timing, or the relationship between machining and later finishing. These decisions are created during manufacturing planning.
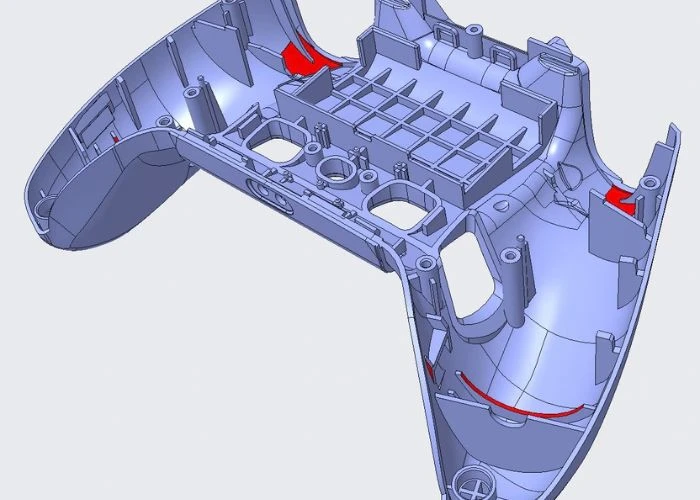
For example, a housing may look like one component in CAD, but we see several manufacturing relationships inside it: the outer cosmetic surface, internal mounting geometry, openings that align with other components, and areas that must remain stable during subsequent hand finishing. Treating every surface simply as geometry can miss those relationships.
We therefore identify the manufacturing priorities before programming begins. This does not mean applying tight control everywhere. It means understanding where an error would continue into another operation and where the process still has an opportunity to correct or protect the result.
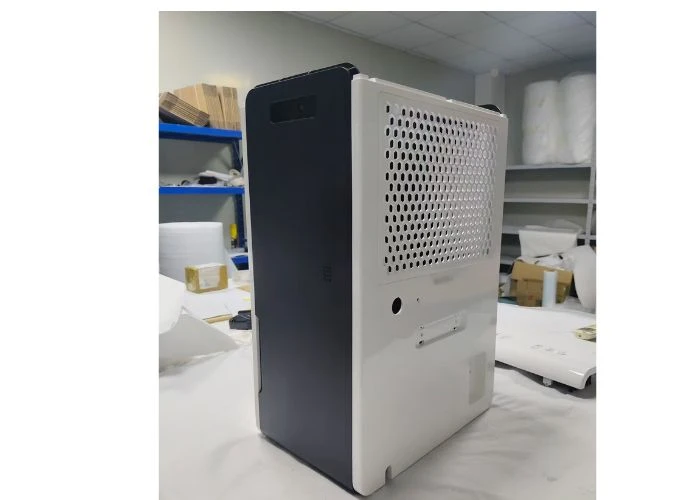
A Manufacturable CAD Model Still Needs a Manufacturing Plan
A part can be technically machinable and still require poor process planning. We distinguish between “Can we machine this geometry?” and “How should we manufacture it so the important result remains controlled through the complete process?”
Suppose several sides require machining. Each reorientation changes how the part is located and which previously created features become references for later work. If surface finishing follows machining, some faces may also require additional allowance or protection. If assembly follows finishing, important interfaces must survive both stages.
We therefore build the manufacturing route around dependencies between operations. A feature that later becomes a reference may need to be established differently from a purely cosmetic feature. Likewise, a surface that will be heavily hand-finished should not automatically be treated the same way as a finished mating face.
This is where practical manufacturing experience begins to matter. The goal is not simply to complete every feature shown in CAD, but to complete them in an order that preserves the quality needed by the finished prototype.
Process Planning Determines How CAD Becomes a Physical Plastic Part
Once manufacturing begins, quality depends on maintaining the intended relationships while the part changes from stock into finished geometry. This is where programming, workholding, machining sequence, and setup planning become connected. We use them together rather than treating each as an independent production decision.
In CNC plastic machining, every operation changes what remains available for the next one. Removing material can change support conditions; machining a reference surface creates a relationship for later features; turning the part over introduces a new setup; and finishing one region may restrict how another area can subsequently be held.
The correct manufacturing route therefore depends on more than finding tool access. We consider which geometry should be established first, which surfaces can provide reliable references, which operations should remain together in one setup, and where additional handling could introduce unnecessary variation.
This is particularly important for complex plastic prototypes. A locally accurate feature is useful only if its relationship with the rest of the part remains correct. For this reason, our process planning follows the dimensional and functional relationships of the finished component rather than simply machining features in the most convenient CAD order.
Every Additional Setup Creates Another Relationship to Control
Some parts cannot be completed from one machining direction. Additional setups are normal, but every setup creates a new relationship between the workpiece, datum, fixture, and features already machined.
Our objective is therefore not simply to minimize setup count. Sometimes an additional setup provides better access and a more stable machining condition. The important question is whether the new setup gives us a reliable way to preserve the relationships that matter.
Before repositioning a part, we consider what finished or semi-finished geometry can locate it consistently and what critical features still depend on that location. This allows the setup decision to support final quality rather than becoming an isolated production step.
Manufacturing Quality Must Be Protected While the Part Is Being Made
A prototype does not move directly from raw material to finished part. Between those states, it passes through rough machining, repositioning, finishing cuts, deburring, sanding, polishing, coating, and sometimes assembly. Quality can improve at each stage, but previously established geometry can also be damaged if the next operation is not coordinated with it.
This is particularly relevant to plastics because the physical condition of the part changes as material is removed. We do not need to repeat every mechanism here—thin-wall deflection, residual stress, large-part datum control, and dimensional stability deserve their own technical discussions. The important point for overall plastic manufacturing quality is that later operations must recognize what earlier operations have already established.
For example, after a critical interface is machined, the next operation should not treat that surface as an ordinary area available for aggressive clamping or sanding. Likewise, if a cosmetic surface has already reached its intended geometry, subsequent handling needs to prevent scratches, dents, or local rework that would change its appearance.
This creates a manufacturing handoff between operations. Instead of each department simply receiving “a part,” it should receive a part with known critical surfaces, protected interfaces, remaining allowances, and unfinished requirements. That continuity reduces the chance that one operation solves its own task by creating a problem for the next.
Intermediate Inspection Prevents Errors From Moving Into the Next Process
Final inspection tells us what happened; intermediate inspection can still influence what happens next. We use inspection during manufacturing when an important characteristic is about to become difficult—or impossible—to correct after the following operation. This makes measurement part of process control rather than only final acceptance.
Consider a machined housing that will later be polished and painted. If a critical mounting interface is incorrect before finishing, completing the cosmetic work adds value to a part whose engineering problem already exists. The better checkpoint is before those irreversible or costly downstream operations begin.
Intermediate inspection can also confirm that sufficient material remains for final machining, that mating features are progressing correctly, or that a part is stable enough to move into finishing. What we inspect depends on what the next operation needs from the current one.
This is different from measuring everything repeatedly. Excessive inspection adds time without necessarily improving the prototype. We prefer targeted checkpoints where the result determines whether manufacturing should continue, be adjusted, or return to an earlier operation.
Surface Finishing Must Be Managed as Part of Plastic Manufacturing
For cosmetic prototypes, machining and surface finishing are not two unrelated services. The machined surface becomes the starting condition for sanding, polishing, painting, silk screening, or other finishing. If the earlier surface is poorly controlled, later finishing requires more correction and can introduce additional variation.
This is why we do not expect paint to hide a manufacturing problem. Deep tool marks, uneven edge transitions, local steps, poor joint geometry, or inconsistent surfaces should be addressed at the appropriate manufacturing stage rather than covered with progressively heavier finishing work.
At the same time, hand finishing itself must be controlled. Sanding removes material; polishing changes a surface; coating adds another layer; masking determines which interfaces remain untouched. An operator can improve appearance while unintentionally changing an edge, opening, mating surface, or transition if those areas are not clearly protected.
For us, the target is therefore not “a good CNC part” followed by “a good painted part.” It is one finished prototype whose geometry and appearance remain compatible. That requires machining and finishing teams to work toward the same final requirement.
A Good Individual Part Does Not Automatically Create a Good Prototype
Many prototypes consist of multiple plastic parts plus customer-supplied components, fasteners, displays, electronics, or mechanical elements. In these projects, individual inspection remains necessary, but manufacturing quality ultimately depends on whether the parts work together in the intended physical relationship.
Two housings can each meet their important individual dimensions and still produce an undesirable gap after assembly. Several mounting features can pass inspection individually while their combined relationship makes installation difficult. Cosmetic surfaces can also look correct separately but reveal inconsistent transitions once adjacent parts are assembled.
For this reason, we distinguish part quality from prototype-level quality. Part inspection verifies what belongs to the individual component. Trial assembly, where required, checks relationships that only exist after components come together: fit, alignment, gap, flushness, interface location, and overall appearance.
This does not mean assembly should compensate for incorrect machining. Adjustment and hand fitting should not become a routine method for hiding dimensional problems. When an assembly issue appears, we first determine whether it comes from an individual part, an interface relationship, finishing, or the way the components are being located.
Final Inspection Should Verify the Prototype Against Its Intended Purpose
A prototype is useful only when it can answer the engineering question for which it was built. Final inspection should therefore confirm more than whether the part matches CAD. We connect inspection priorities to what the engineering, purchasing, or R&D team actually needs to learn from the physical prototype.
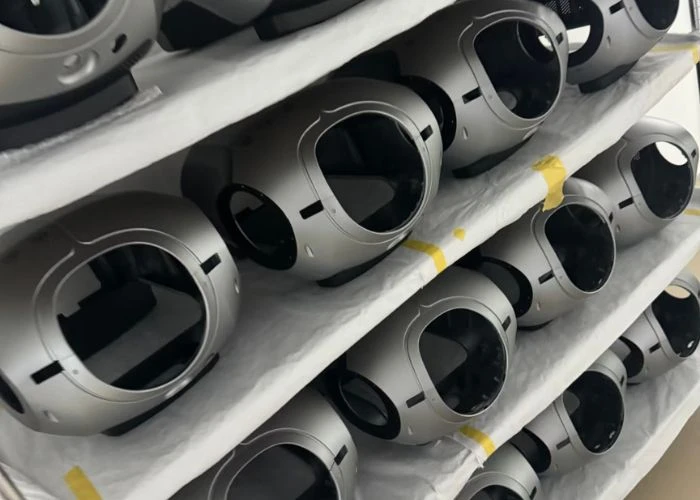
For an appearance prototype, visible surfaces, color consistency, edge transitions, gaps, and overall presentation may carry greater weight. For an assembly prototype, locating features, mounting relationships, fit, and clearance become more important. For a precision machined component, dimensional relationships and specified inspection results may dominate.
This does not lower the quality standard for other features. It establishes the correct hierarchy. If every characteristic is treated as equally critical, manufacturing and inspection effort can become disconnected from the purpose of the prototype.
Our final review therefore combines the relevant dimensional, surface, and assembly information rather than relying on a single “pass” measurement. This approach also makes feedback more useful: when engineers revise the next prototype, they know which result came from geometry, machining, finishing, or assembly rather than receiving only a generic quality judgement.
How We Control Plastic Manufacturing Quality From CAD to Finished Prototype
As a direct plastic prototype manufacturer, we see manufacturing quality as continuity between operations. Our responsibility is not finished when a CNC machine completes its program. The result still has to pass through the remaining processes without losing the geometry, surface condition, or interface relationships already established.
We begin by understanding the manufacturing requirements and deciding how the part should progress through machining. During production, critical results are checked before they become buried beneath later operations. After CNC plastic machining, deburring and surface preparation are carried out with awareness of which areas can be refined and which interfaces need protection.
Where painting, polishing, silk screening, or other finishing is required, we manage the transition from machined geometry to final appearance rather than treating finishing as a corrective layer. Where multiple parts form a complete prototype, relevant interfaces are inspected and trial assembly can be used to verify relationships that cannot be confirmed from individual components alone.
The final inspection then confirms the condition that will actually be delivered. This connected approach is central to our plastic prototyping work: each operation should preserve what the previous operation got right while creating the quality required by the next.
Conclusion
Reliable plastic manufacturing quality is built throughout the process, not inspected into the prototype at the end. We control how machining, intermediate inspection, hand finishing, surface treatment, and assembly affect one another so that important geometry and appearance are preserved through each stage. For plastic prototyping, the best result is not simply an accurate individual part, but a finished prototype that meets its intended engineering purpose. If you need support with CNC plastic machining or a complete plastic prototype, send us your CAD files and project requirements for manufacturing review.
FAQs
1. What Determines Quality in Plastic Manufacturing?
Plastic manufacturing quality comes from the complete manufacturing route rather than one machine specification. Process planning, workholding, machining sequence, intermediate inspection, surface preparation, finishing, and final verification can all affect the result. For prototypes, we also consider whether the finished part provides the dimensional, cosmetic, or assembly information the engineering team actually needs.
Plastic manufacturing 的质量来自完整制造过程,而不是某一个设备参数。工艺规划、装夹、加工顺序、
2. Does a More Accurate CNC Machine Always Produce a Better Plastic Prototype?
Not by itself. Machine accuracy is important, but the part must also be located correctly, machined in an appropriate sequence, protected during later operations, and inspected in the relevant condition. A precise toolpath cannot compensate for poor process planning or prevent a finished interface from being altered during uncontrolled post-processing.
3. Why Is Intermediate Inspection Important in Plastic Prototype Manufacturing?
Intermediate inspection allows us to identify important problems before the part enters a process where correction becomes difficult or expensive. We use targeted checkpoints rather than measuring everything repeatedly. The purpose is to decide whether the part is ready for the next manufacturing stage and whether important geometry remains under control.
4. Can Surface Finishing Affect the Quality of a CNC-Machined Plastic Part?
Yes. Sanding and polishing remove material, while coatings add surface layers. Hand finishing can also affect edges, openings, and mating surfaces if these areas are not protected. For this reason, we manage surface finishing as part of the overall manufacturing route rather than evaluating appearance separately from dimensional and assembly requirements.
5. Why Can Individually Qualified Parts Still Have Assembly Problems?
Individual inspection verifies dimensions that belong to each component, while assembly introduces relationships between components. Gap, alignment, flushness, clearance, and fit may only become meaningful after the parts are assembled. When required, trial assembly helps us verify these relationships without using assembly to hide incorrect machining.
6. What Information Helps a Manufacturer Control Prototype Quality?
A clear 3D CAD model should be supported by information about critical dimensions, material requirements, visible surfaces, surface finish, quantity, important mating interfaces, and relevant assembly requirements. The objective is not to add unnecessary documentation, but to make the characteristics that determine prototype success clear before manufacturing begins.